学习的初始 一个 Hello World。
1、搭建好环境
工欲善其事,必先利其
这是需要的jar
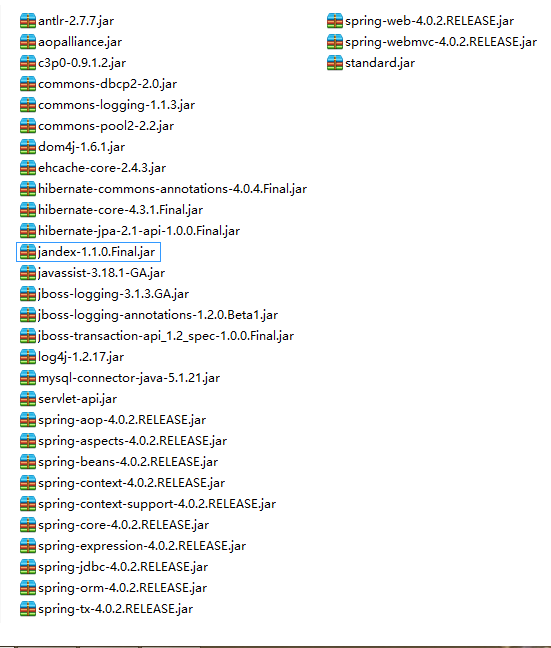
简单的说下 :
standard.jar 这个jar包是我们在jsp中使用JSTL标签的时候用到的。你也可以使用SpringEL 。
servlet-api.jar 这是你在SpringMvc中 用到HttpServletRequest 等这些类。
导入的包都OK了,上传下载的包我没有导。现在就应该到配置文件了。
2、配置文件
2.1web.xml
项目使用了什么框架。看这个配置就知道了。
<listener>
<listener-class>org.springframework.web.util.Log4jConfigListener</listener-class>
</listener>
<!-- 配置Spring的用于初始化容器对象的监听器 -->
<listener>
<listener-class>org.springframework.web.context.ContextLoaderListener</listener-class>
</listener>
<context-param>
<param-name>contextConfigLocation</param-name>
<!-- 注意我的applicationContext.xml 和下面的springmvc的配置文件都是放在src下的-->
<param-value>classpath:applicationContext*.xml</param-value>
</context-param>
<!-- 中央控制器 -->
<servlet>
<servlet-name>springmvc</servlet-name>
<servlet-class>org.springframework.web.servlet.DispatcherServlet</servlet-class>
<init-param>
<param-name>contextConfigLocation</param-name>
<param-value>classpath*:springmvc-servlet.xml</param-value>
</init-param>
<load-on-startup>1</load-on-startup>
</servlet>
<servlet-mapping>
<servlet-name>springmvc</servlet-name>
<!-- struts习惯使用/*,在springmvc不管用 -->
<url-pattern>*.do</url-pattern>
</servlet-mapping>
2.2 applicationContext.xml 的配置
我的数据库连接使用的是spirng进行连接。然后使用了 mysql.properties 配置的文件解耦。
注意如果你的spring、hibernate 的版本和我的不一样。你修改下面绿色字体版本号。
<!-- 自动扫描与装配bean -->
<context:component-scan base-package="org.pk.ssh"></context:component-scan>
<!-- 导入外部的properties文件 -->
<context:property-placeholder location="classpath:mysql.properties"/>
<!-- 配置SessionFactory -->
<bean id="sessionFactory" class="org.springframework.orm.hibernate4.LocalSessionFactoryBean">
<!-- 指定hibernate的配置文件位置 -->
<property name="configLocation" value="classpath:hibernate.cfg.xml"></property>
<!-- 配置c3p0数据库连接池 -->
<property name="dataSource">
<bean class="com.mchange.v2.c3p0.ComboPooledDataSource">
<!-- 数据连接信息 -->
<property name="jdbcUrl" value="${jdbcUrl}"></property>
<property name="driverClass" value="${driverClass}"></property>
<property name="user" value="${user}"></property>
<property name="password" value="${password}"></property>
<!-- 其他配置 -->
<!--初始化时获取三个连接,取值应在minPoolSize与maxPoolSize之间。Default: 3 -->
<property name="initialPoolSize" value="3"></property>
<!--连接池中保留的最小连接数。Default: 3 -->
<property name="minPoolSize" value="3"></property>
<!--连接池中保留的最大连接数。Default: 15 -->
<property name="maxPoolSize" value="5"></property>
<!--当连接池中的连接耗尽的时候c3p0一次同时获取的连接数。Default: 3 -->
<property name="acquireIncrement" value="3"></property>
<!-- 控制数据源内加载的PreparedStatements数量。如果maxStatements与maxStatementsPerConnection均为0,则缓存被关闭。Default: 0 -->
<property name="maxStatements" value="8"></property>
<!--maxStatementsPerConnection定义了连接池内单个连接所拥有的最大缓存statements数。Default: 0 -->
<property name="maxStatementsPerConnection" value="5"></property>
<!--最大空闲时间,1800秒内未使用则连接被丢弃。若为0则永不丢弃。Default: 0 -->
<property name="maxIdleTime" value="1800"></property>
</bean>
</property>
</bean>
<!-- 配置声明式事务管理(采用注解的方式) -->
<bean id="txManager" class="org.springframework.orm.hibernate4.HibernateTransactionManager">
<property name="sessionFactory" ref="sessionFactory"></property>
</bean>
<tx:annotation-driven transaction-manager="txManager"/>
2.3 mysql.propertiese
#注意格式
jdbcUrl = jdbc:mysql:///spring
driverClass = com.mysql.jdbc.Driver
user = root
password = root
2.4 hibernate的配置
<!-- 1,数据库连接信息 -->
<property name="dialect">
org.hibernate.dialect.MySQL5InnoDBDialect
</property>
<!-- 2,其他配置 -->
<property name="show_sql">true</property>
<property name="hbm2ddl.auto">update</property>
<!-- 3,导入映射文件,我使用的的是hibernate的注解,如果你用到是配置文件 -->
<!-- <mapping resource="org/pk/ssh/model/User" /> 配置文件-->
<mapping class="org.pk.ssh.model.User" />
</session-factory>
2.5 SpringMvc的配置 springmvc-servlet.xm
<!-- mvc注解驱动 -->
<mvc:annotation-driven/>
<!-- 扫描器已经有了上面这个mvc注解驱动的功能了,所有不需要了 -->
<context:component-scan base-package="org.pk.ssh.controller" />
<!-- 前缀+ viewName +后缀 -->
<bean class="org.springframework.web.servlet.view.InternalResourceViewResolver">
<!-- webroot到某一指定的文件夹的路径 -->
<property name="prefix" value="/WEB-INF/jsp/"></property>
<!-- 视图名称的后缀 -->
<property name="suffix" value=".jsp"></property>
</bean>
3、配置文件已经OK了,我主要是写个登录的HelloWorld
我都是居于注解的方式来实现的。
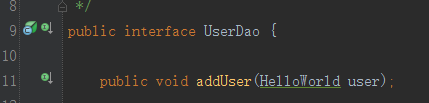
model :HelloWorld 类

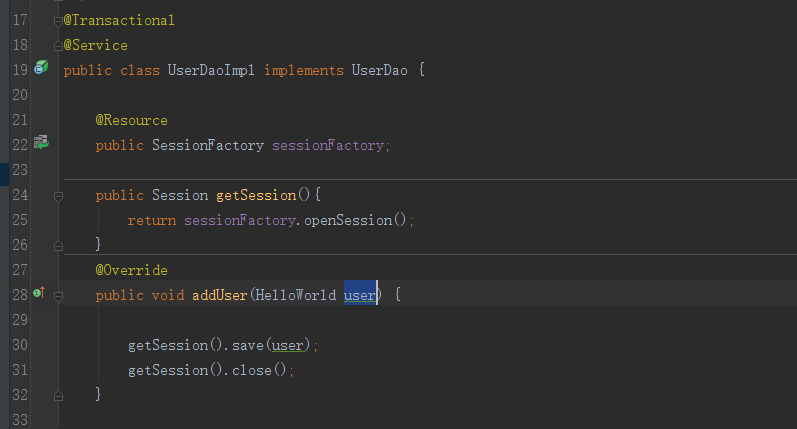
dao和它的实现类,登录我就直接把用户名和密码存入到我的数据库中了。其实应该是注册。但是是个新手嘛。我就这样写了。嘿嘿。之后在慢慢的去改进它。
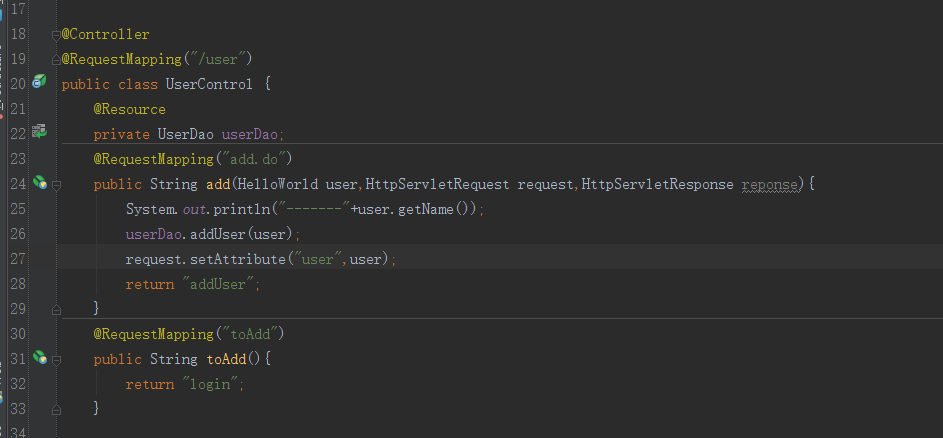
现在轮到controller 类隆重登场了。大家欢迎它
jsp界面的请求
在WEB-IN下建立jsp目录。 jsp界面都放这里。为什么要放在这里而不放在webroot呢?以下是网上的一些说法
http://blog.csdn.net/saygoodbyetoyou/article/details/9944773
http://uule.iteye.com/blog/1853531
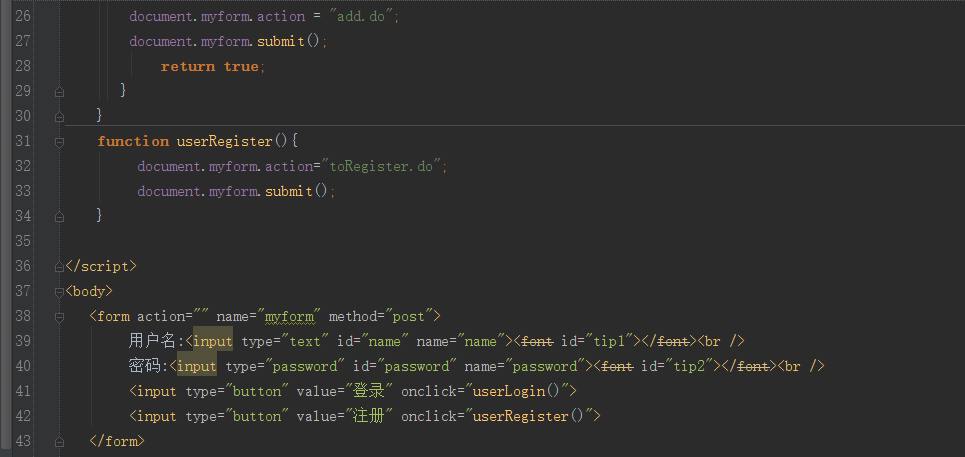
上面这个就是我的登录的界面了。请求注意加 *.do 因为我的配置拦截就是这样的。
然后这个是在另外一个jsp界面中的输出,我使用的是JSTL进行输出的。
<c:out value="${user.name}"/>
向楼主学习
buxuo